This markup language is under active development and will expand and change. This page will always have the most recent information.
Introducing the Values
Ghostwriter’s reporting engine supports a few template values you can use in your findings templates to format text or insert data at reporting time dynamically. A reference pane is included at the top of the page when editing a finding in the library or a report.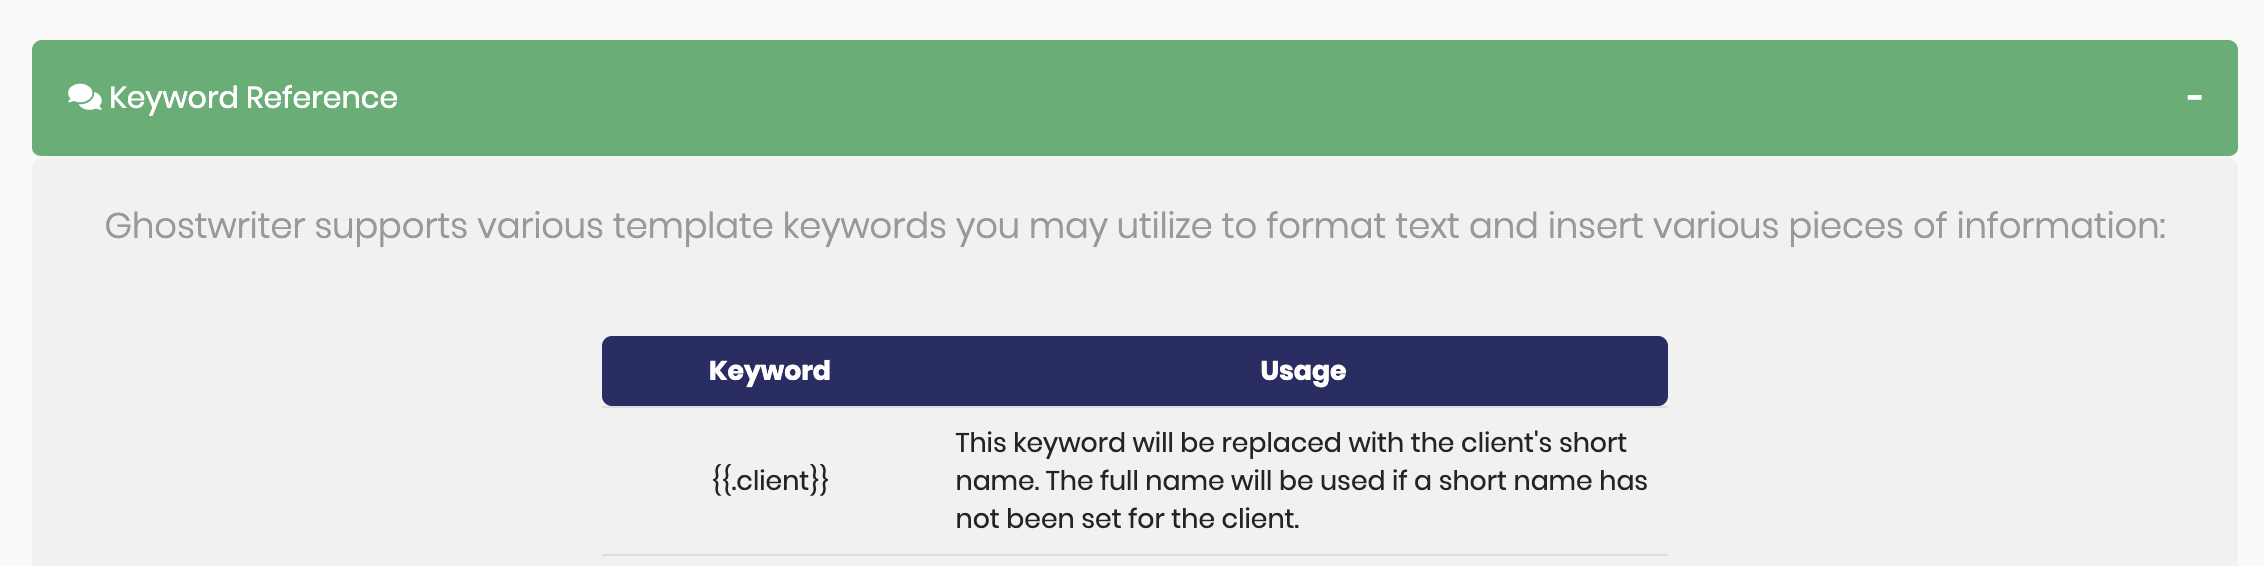
Using the Template Values
While editing a finding, add the template values mid-sentence or on new lines. Certain values have specific requirements for placement, so read on to learn the basics. Type@ to initiate auto-complete! Typing @{ will display a list of all available template values. The curly brace matches the first character of the template variables, leading to the population of the autocomplete suggestions.
Ghostwriter will process the values when a report is generated. To use a value, read its description for usage instructions and place the {{.VALUE}} keyword in your finding template.
The . int {{.VALUE}} is important and easy to miss. This additional character is necessary to avoid processing other values inside curly braces as variables. Some people use {{ }} as a way to denote sections of text that should be filled in to use the template.
Current Template Values
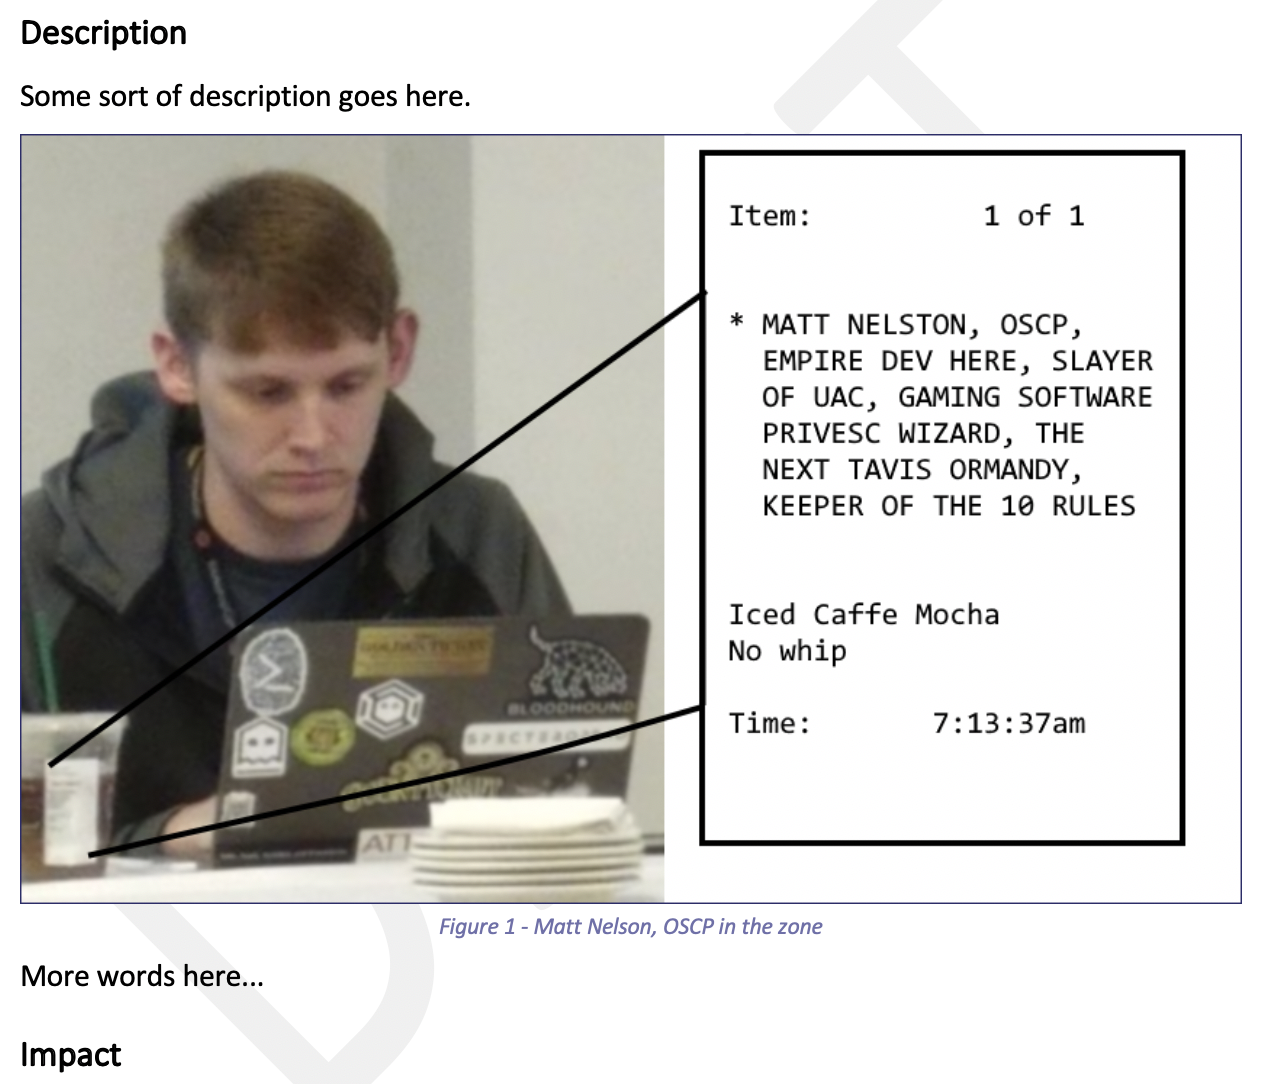
The following table contains the current template values available for use in a finding:Use the caption and reference tags to create cross-references in Word reports. For example, if you have an evidence image with the name “Screenshot” you can place the evidence (as shown below) using:
{{.Screenshot}}Anywhere else in the finding (before or after {{.Screenshot}}) you can place one or more references to that image to create bookmarks. Like this:{{.ref Screenshot}}The final Word document will have your evidence with a “field character” (i.e., a reference like “Figure 1”) and bookmarks (i.e., cross-references) to that field character. They will look and function just like cross-references inserted using Word’s Reference tab.The same works with captions like this:{{.caption myReference}} and {.ref myReference}}Inserting Evidence
Evidence files can be dynamically placed within a finding using the evidence file’s Friendly Name value as a template value. Example An evidence file has been attached with the Friendly Name set to Enigma.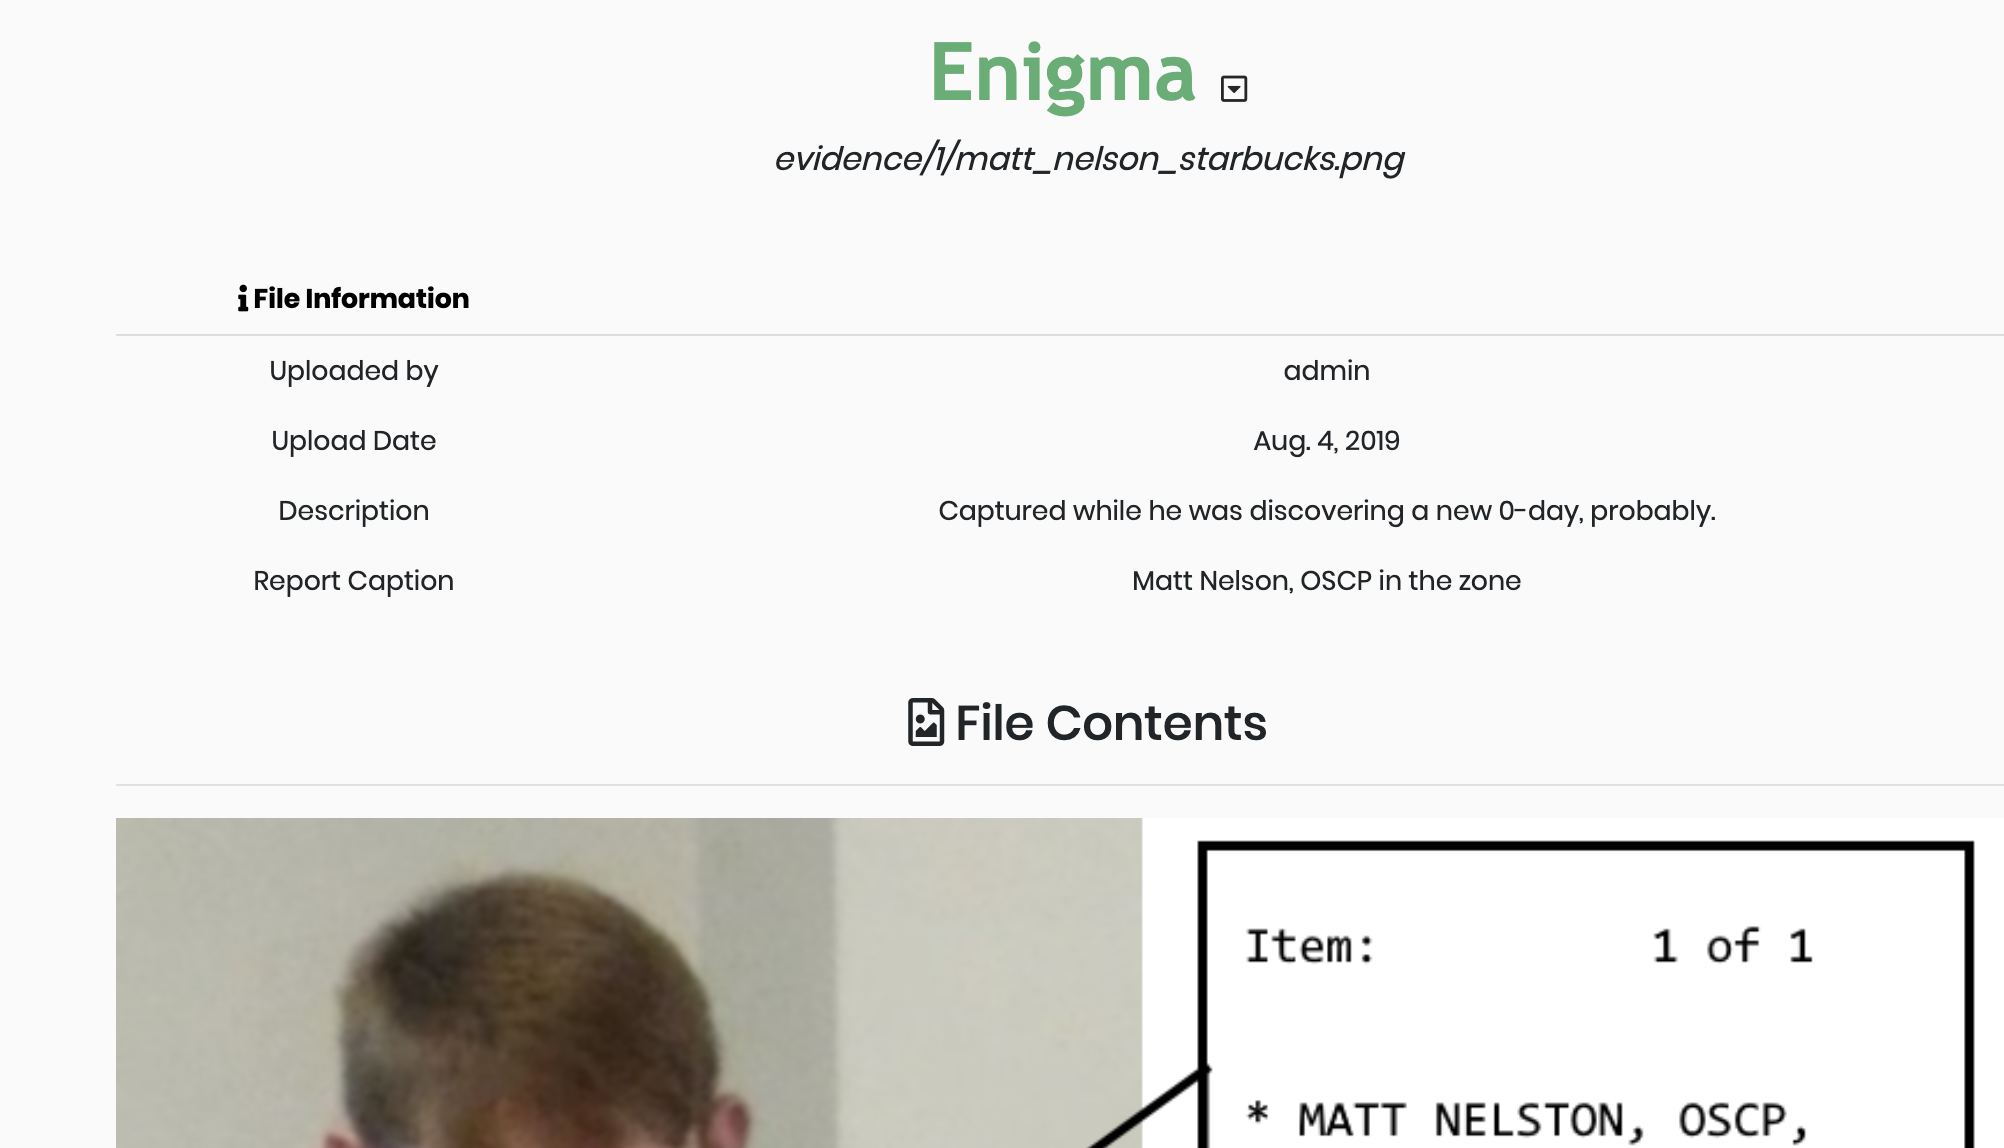
{{.Enigma}}, on a new line by itself.
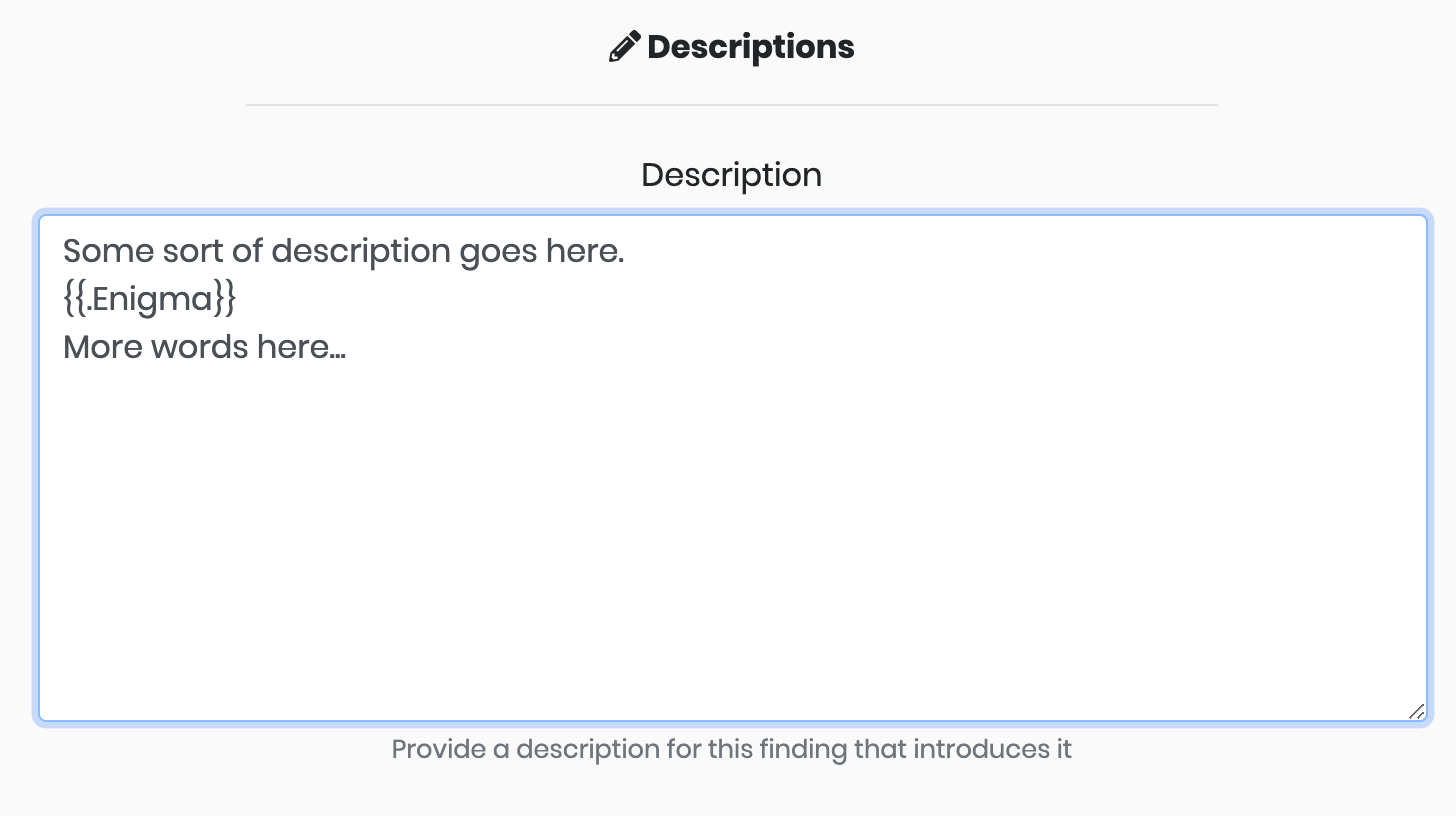
There is no need for additional lines between the template value and the preceding or subsequent lines. Adding blank lines will just create blank lines in the report output. Let the formatting handle spacing between elements.
The first time you open your Word report, you will see the Figures lack their numbers. This is caused by how Word parses the XML. The Figures are fine, but you need to tell Word to update them to see the numbering.Select all text in the report, right-click, and select Update Field. The Figures will now appear correctly.